
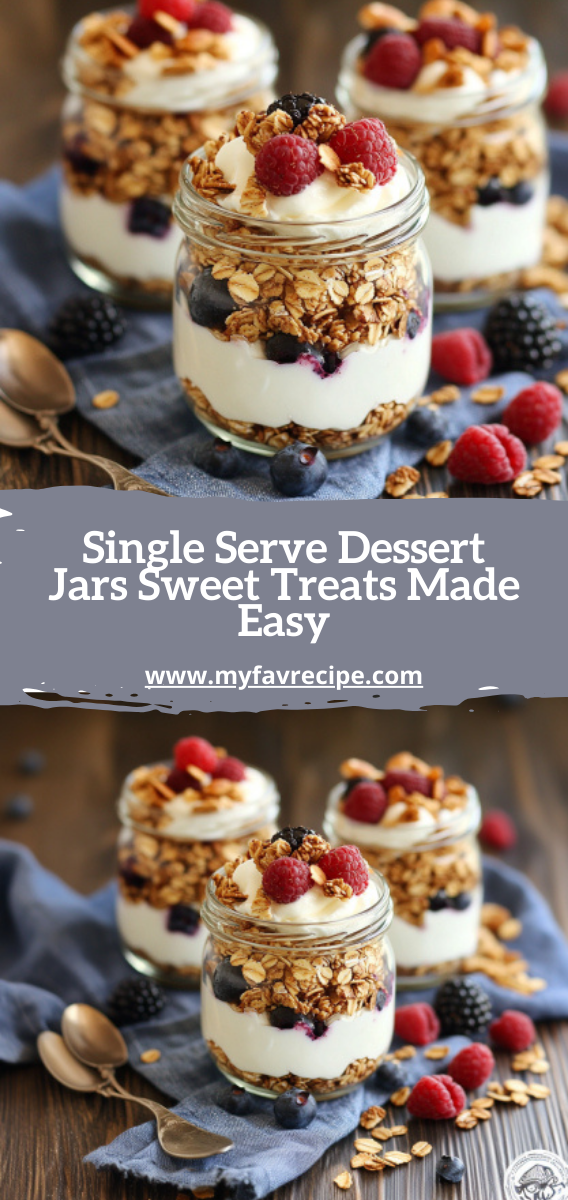
Single Serve Dessert Jars Sweet Treats Made Easy
Dessert lovers are finding a new trend: single-serve dessert jars. These jars make enjoying sweet treats easy and fun. They’re perfect for those who love small-batch sweets but don’t want to spend a lot of time making them.
These jars are small and look great. They’re a fancy way to enjoy classic flavors in a simple package. They’re great for dinner parties or a quick treat for yourself.
With single-serve dessert jars, you can make treats like layered chocolate mousse or fruit parfaits. They’re easy to make and look amazing. They’re perfect for busy cooks who want to impress with their desserts.
In this guide, we’ll show you how to make delicious single-serve dessert jars. They’re easy to make and will impress everyone. Get ready to make your desserts more fun and tasty.
What Are Single-Serve Dessert Jars and Why They’re Trending
Dessert lovers are loving a new trend: individual dessert cups. These cute treats have changed how we enjoy sweets. Now, it’s easy to have desserts on the go, even when we’re busy.
The Evolution of Portable Desserts
Dessert jars have changed how we see sweet treats. They’ve gone from simple snacks to Instagram stars. Their small size makes them great for taking on the go, controlling portions, and adding fun to any event.
Benefits of Individual Dessert Cups
- Perfect portion sizes that prevent overeating
- Easy to store and transport
- Customizable for various dietary needs
- Visually appealing presentation
Individual dessert cups are amazing because they’re so versatile. Bakers and home cooks can make stunning desserts. These treats are not just tasty but also look great, making them perfect for any occasion.
From Social Media Sensation to Kitchen Staple
Social media has helped make these treats popular. Food bloggers and chefs share their creative ideas, inspiring many. What began as a trend has become a favorite in kitchens everywhere.
“Dessert jars are not just a trend, they’re a delicious revolution in portable sweets!” – Culinary Trends Magazine
Essential Tools and Ingredients for Perfect Mason Jar Desserts
Making mason jar desserts is easy with the right tools and ingredients. These treats are simple yet versatile. They can be made in no time.
Mason jars are the main ingredient. They come in different sizes, perfect for making individual desserts. Here are some jar sizes to consider:
- 4-ounce jars: Perfect for small, bite-sized treats
- 8-ounce jars: Ideal for more substantial dessert servings
- Wide-mouth jars: Easier for layering and decorating
Here are the tools you’ll need to make these desserts:
- Mixing bowls of various sizes
- Spatulas and whisks
- Piping bags for elegant layering
- Measuring cups and spoons
For ingredients, choose versatile ones. Staple ingredients like graham cracker crumbs and pudding mixes are great. Add fresh fruits and whipped cream for extra flavor. Cream cheese and chocolate chips bring in delightful textures.
“The beauty of mason jar desserts is their ability to turn simple ingredients into Instagram-worthy treats!” – Pastry Chef Emma Roberts
Remember, always clean and dry your mason jars before use. This keeps your desserts safe and prevents moisture.
Recipe card
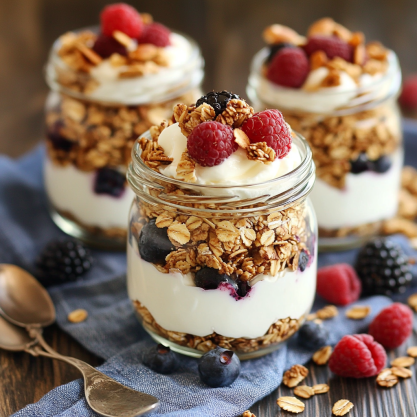
Making stunning layered desserts in parfait jars is simpler than you think. This recipe card will guide you through making beautiful, tasty single-serve treats. They’re sure to wow anyone.
Essential Equipment
- 4-6 parfait jars (8-ounce size)
- Mixing bowls
- Whisk
- Rubber spatula
- Piping bag (optional)
Fresh Ingredients
- 2 cups Greek yogurt
- 1/4 cup honey
- 1 cup fresh berries
- 1/2 cup granola
- 2 tablespoons chopped nuts

Simple Layering Instructions
- Mix yogurt and honey in a bowl until smooth
- Wash and chop fresh berries
- Begin layering ingredients in parfait jars
- Pro tip: Start with granola base, then yogurt, then berries
- Repeat layers until jar is full
- Top with additional nuts for crunch
These desserts are great for meal prep, parties, or a quick breakfast. You can change up your parfait jars with different fruits, nuts, or sweeteners. This way, you can make them just how you like them.
*”The beauty of parfait jars is their versatility and visual appeal”*
Try out seasonal ingredients and have fun making your own unique layered desserts. They’ll be both delicious and perfect for Instagram!
Delicious Single-Serve Dessert Jars Recipes to Try Today
Mini dessert cups have changed how we enjoy sweets. They mix convenience with creativity, making desserts special. They’re great for parties or personal treats, offering endless ideas.
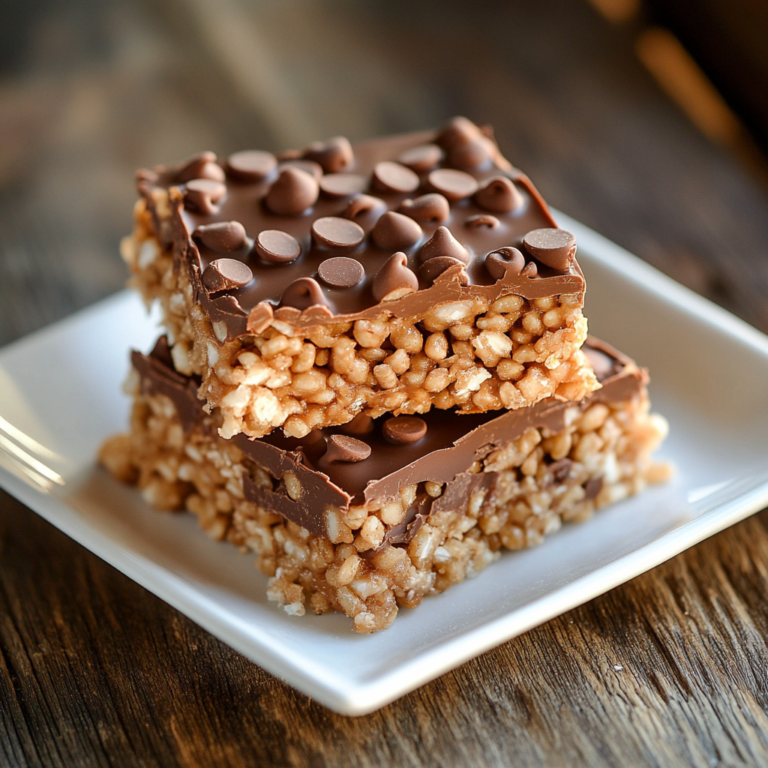
No-Bake Layered Treats for Easy Enjoyment
No-bake mini dessert cups are perfect for hot days. They’re easy to make and full of flavor. Here are some quick ideas:
- Chocolate mousse layered with graham cracker crumbs
- Cheesecake parfaits with fresh berry compote
- Tiramisu-inspired coffee and mascarpone layers
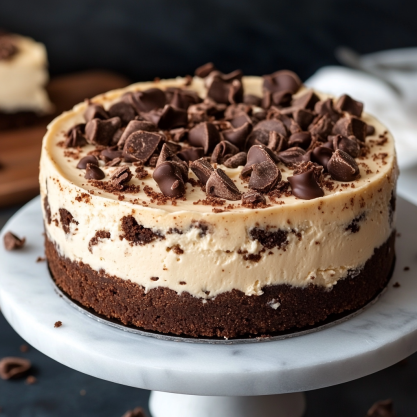
Classic Desserts Reimagined in Jars
Mini dessert cups give old favorites a new look. Think of apple pie, banana pudding, or strawberry shortcake in individual, beautiful servings. They taste just like grandma’s.
Seasonal Variations for Special Occasions
Mini dessert cups fit any celebration. Try Halloween chocolate graveyard cups or Christmas peppermint cheesecake jars. They’re ideal for:
- Wedding receptions
- Birthday parties
- Holiday gatherings
- Intimate dinner parties
“Small desserts, big impressions” – Every home baker’s secret weapon!
Conclusion
Single-serve dessert jars have changed how we make and enjoy treats. They mix convenience, creativity, and portion control. This appeals to both home bakers and dessert fans.
These jars are great for any event, from fancy dinner parties to family get-togethers. They add a gourmet touch to any gathering.
Single-serve dessert jars are super versatile. They let you try new flavors and textures. You can make everything from no-bake cheesecakes to layered chocolate parfaits.
They’re perfect for showing off your creativity. These desserts are easy to make and look amazing.
As food trends change, single-serve dessert jars remain popular. They offer a modern way to make desserts. They cater to everyone’s tastes and dietary needs.
With just a few simple tools, you can become a dessert master. Your kitchen can become a place of endless creativity.
Join the single-serve dessert jar trend. It opens up a world of sweet delights. Your taste buds and guests will love it.
FAQ
What are single-serve dessert jars?
Single-serve dessert jars are small glass containers filled with sweet treats. They’re great for quick desserts. Each jar has a perfect portion of your favorite sweets.
What types of jars work best for dessert recipes?
Mason jars are the top pick for desserts. Choose 4-6 ounce jars with tight lids. They’re perfect for desserts that are easy to carry and look good on Instagram.
Are single-serve dessert jars good for meal prep?
Yes! They’re great for meal prep. You can make them ahead, store them in the fridge, and grab them when you want a sweet treat.
How long can I store dessert jars in the refrigerator?
You can store no-bake jars in the fridge for 3-5 days. If they have fresh fruits or cream, eat them in 2-3 days for the best taste.
Can I make dessert jars for special dietary needs?
Yes! You can make jars for gluten-free, vegan, or low-sugar diets. They’re great for everyone, no matter their dietary needs.
Are dessert jars suitable for parties and events?
Yes! They’re perfect for parties. They’re easy to serve and look great on a dessert table. They’re ideal for weddings and birthdays.
What are some easy no-bake dessert jar recipes?
Try cheesecake parfaits, chocolate mousse, tiramisu cups, and fruit and yogurt parfaits. These no-bake recipes are quick to make and delicious.
How can I make my dessert jars look more professional?
Use piping bags for neat layers and clear glass jars. Create colorful layers and garnish with fresh fruits or chocolate. A small offset spatula helps with even layers.
single-serve dessert jars
Ingredients
Equipment
Method
- Mix yogurt and honey in a bowl until smooth
- Wash and chop fresh berries
- Begin layering ingredients in parfait jars
- Pro tip: Start with granola base, then yogurt, then berries
- Repeat layers until jar is full
- Top with additional nuts for crunch