
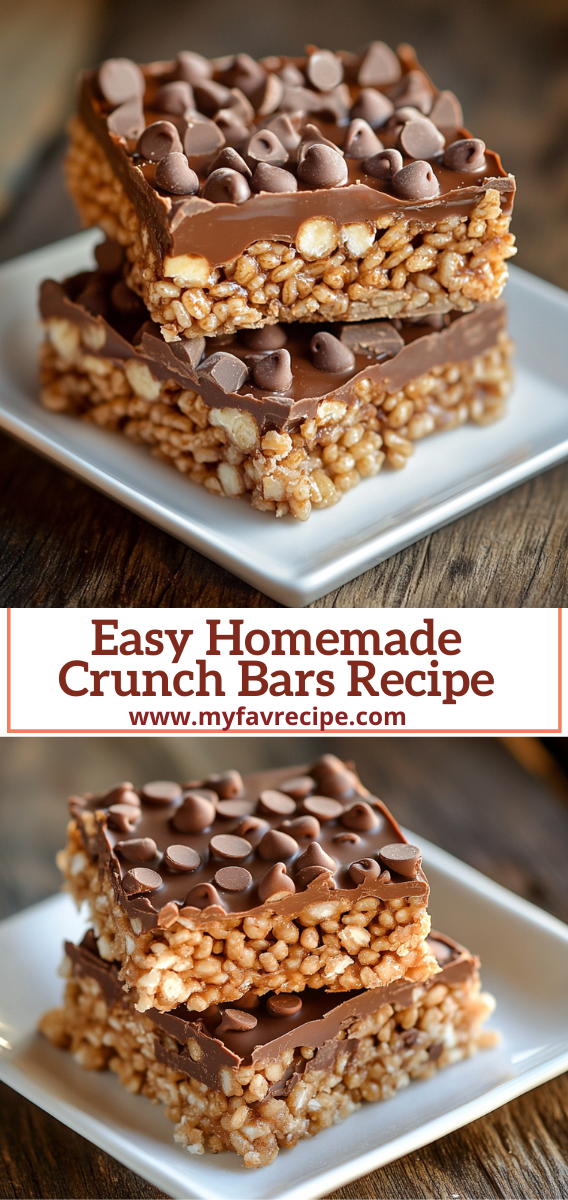
Delicious Easy Homemade Crunch Bars Recipe Today
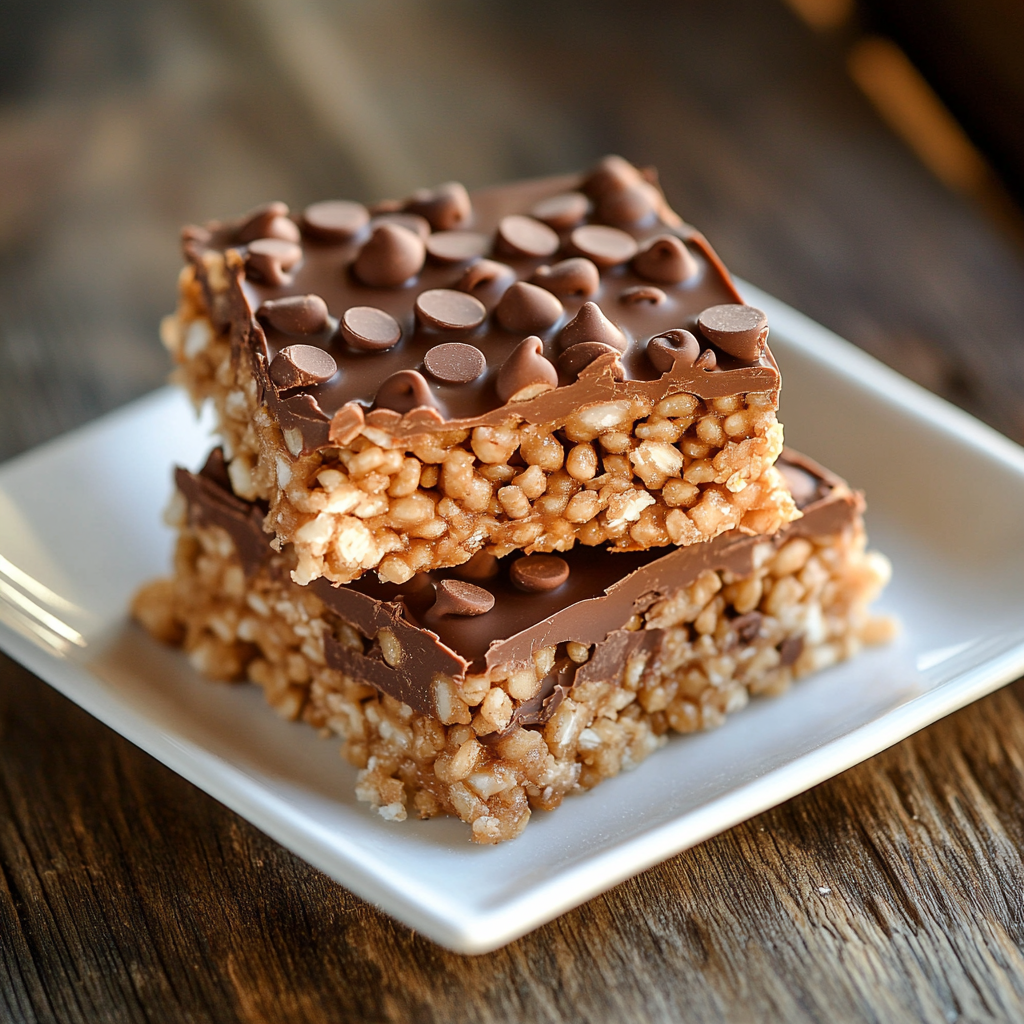
Craving a sweet treat? Try our easy homemade crunch bars recipe! These chocolate crunch bars are a breeze to make. They taste way better than store-bought versions. In just minutes, you’ll have delectable homemade candy bars that’ll satisfy your sweet tooth.
Get ready to experience the perfect blend of smooth chocolate and crispy texture. Our recipe guides you through creating these irresistible treats. You’ll need simple ingredients and quick prep time. Say goodbye to boring snacks and hello to your new favorite indulgence!
The Ultimate Guide to Homemade Chocolate Crunch Bars
Craving sweet snacks that are easy to make? Homemade chocolate crunch bars are perfect. They satisfy your sweet tooth without baking. Let’s explore why you should make your own, the tools you’ll need, and the basic ingredients.
Why Make Your Own Crunch Bars
Making your own crunch bars lets you customize flavors and control ingredients. It’s fun for kids and adults. Homemade versions often taste better than store-bought ones. These no-bake recipes are great for hot summer days when you don’t want to use the oven.
Essential Kitchen Tools You’ll Need
To make crunchy treats at home, you’ll need:
- A large mixing bowl
- A saucepan for melting chocolate
- A spatula or wooden spoon
- A baking pan or dish
- Parchment paper
Basic Ingredients Overview
The core ingredients for chocolate crunch bars are simple:
- Chocolate (milk, dark, or white)
- Crispy rice cereal
- Butter
- Vanilla extract
You can add nuts, dried fruits, or other mix-ins for unique flavors. These sweet snacks can be tailored to any taste.
“Homemade chocolate crunch bars are a delightful blend of simplicity and indulgence. They’re the perfect treat for any occasion.”
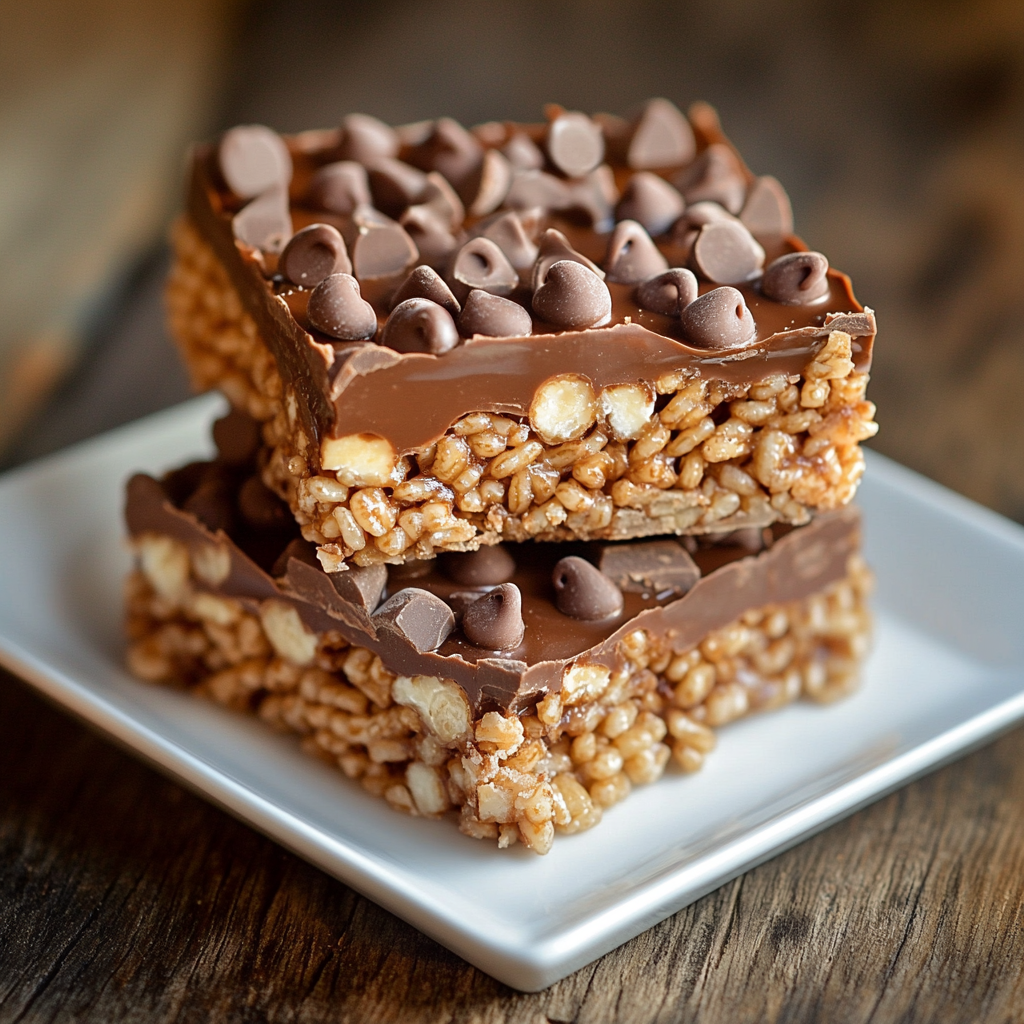
Easy Homemade Crunch Bars Recipe
Make tasty treats with this simple recipe that’s great for family fun. These homemade crunch bars are loved by kids and adults, perfect for parties or snacks after school.
Start by gathering your ingredients:
- 2 cups chocolate chips
- 1 cup crispy rice cereal
- 1/4 cup butter
- 1/4 cup sugar
Melt the chocolate chips and butter in a microwave-safe bowl. Stir every 30 seconds until smooth. Then, mix in the sugar and crispy rice cereal. Pour the mix into a lined baking pan and spread it out.
Refrigerate for about an hour until it’s set. Cut into bars and enjoy! This recipe is easy to make your own. Try adding nuts, dried fruit, or sea salt for extra taste.
“These crunch bars are so simple to make, my kids love helping in the kitchen!” – Sarah, mom of three
For best results, store your homemade crunch bars in an airtight container. They’ll stay fresh at room temperature for up to a week. This makes them a convenient treat for busy families.
Recipe card
Want to make your own chocolate crunch bars? This recipe card has all you need for delicious homemade candy bars. Just follow these easy steps for a treat that’s better than store-bought.
Equipment
- 8-inch square baking pan
- Parchment paper
- Medium microwave-safe bowl
- Spatula
- Refrigerator

Ingredient list
- 2 cups milk chocolate chips
- 1/4 cup unsalted butter
- 1 1/2 cups crispy rice cereal
- 1/4 tsp salt
Instructions
- Line the baking pan with parchment paper.
- Melt chocolate and butter in the microwave, stirring every 30 seconds.
- Mix in cereal and salt until evenly coated.
- Pour mixture into the pan and spread evenly.
- Refrigerate for 1 hour until set.
- Cut into bars and enjoy your homemade candy bars!
This recipe makes 12 chocolate crunch bars. Prep takes 10 minutes, and they need an hour to cool. These bars are great for a sweet treat or to share with loved ones.
Tips for Perfect Chocolate Coating and Texture
Making delicious chocolate crunch bars at home is an art. The secret is mastering the chocolate coating and getting the perfect crunch. Here are some expert tips to make your crunchy treats even better.
Selecting Quality Chocolate
For your crunch bars, pick high-quality chocolate. Dark chocolate with 60-70% cocoa is the best. It melts smoothly and adds a rich flavor that goes well with the crispy texture.
Mastering the Tempering Process
Tempering chocolate is key for a glossy finish and a satisfying snap. Here’s how to do it:
- Chop chocolate finely
- Melt 2/3 of it in a double boiler
- Remove from heat and add remaining chocolate
- Stir until smooth and cooled to 88-90°F
Perfecting the Crunch Layer
To get the perfect crunch, mix cereal with melted chocolate and a pinch of salt. Press the mixture firmly into the pan. This makes a compact layer that won’t crumble when cut.
Setting and Storing Your Treats
Let your crunchy treats set at room temperature for 2-3 hours. Store them in an airtight container in a cool, dry place. They’ll stay fresh for up to a week, but they usually don’t last that long!
“The secret to irresistible chocolate crunch bars is patience. Take your time with each step, and you’ll be rewarded with perfect texture and flavor every time.”
Variations and Creative Add-ins
Crunch bars are fun to make and can be changed to fit your taste. Let’s look at some exciting ways to make your homemade bars even better.
Peanut Butter Crunch Version
If you love peanut butter, this version is perfect. Add creamy peanut butter to your melted chocolate before mixing in the cereal. You’ll get delicious peanut butter bars with a sweet and salty taste.
Dark Chocolate Alternative
Try using dark chocolate instead of milk chocolate for a deeper flavor. Dark chocolate makes your crunch bars richer and more intense. It’s great for those who prefer less sweet treats.
Rice Krispies Mix-ins
Make your crunch bars into rice krispies bars by using Rice Krispies cereal. This classic version is lighter and has a nostalgic taste. Here are some mix-in ideas to make your rice krispies bars even better:
- Dried fruit like cranberries or raisins
- Chopped nuts such as almonds or pecans
- Mini marshmallows for extra gooeyness
- Crushed pretzels for a salty crunch
Try these variations to find your favorite. Whether you want peanut butter bars or classic rice krispies bars, these add-ins will make your treats special.
Storage and Make-Ahead Tips
Keeping your homemade candy bars fresh is key. Store them in an airtight container at room temperature for up to a week. Use parchment paper to prevent sticking and keep the chocolate shiny.
For longer storage, put your candy bars in the fridge. They’ll stay fresh for up to three weeks. Let them come to room temperature before eating to enjoy the flavors and textures fully.
Planning a party? Make your crunch bars ahead of time:
- Prepare the bars up to five days in advance
- Store them in a cool, dry place
- Avoid direct sunlight to prevent melting
For gifting, wrap individual bars in wax paper and tie with a ribbon. Your homemade candy bars will be a hit at any gathering or as a thoughtful present.
Freezing is an option for extended storage. Wrap each bar tightly in plastic wrap, then place in a freezer bag. They’ll keep for up to three months. Thaw at room temperature for about an hour before enjoying your sweet treat.
“Homemade candy bars are best enjoyed fresh, but with proper storage, you can savor the deliciousness for weeks to come!”
Conclusion
Making an easy homemade crunch bars recipe is a fun way to satisfy your sweet tooth. These no-bake desserts mix chocolatey goodness with a satisfying crunch. By making them at home, you can choose the best ingredients and flavors.
We’ve looked at how to make these treats, from picking the right chocolate to getting the crunch layer just right. The steps are simple, and you need common ingredients. Tempering chocolate might take some practice, but it’s worth it for that shiny look.
Feel free to get creative with your crunch bars. Try adding peanut butter or using dark chocolate for a deeper flavor. Adding Rice Krispies or other crunchy mix-ins can make your bars even better. These treats can be stored for days, making them great for parties or quick snacks.
So, get your ingredients ready and try making these easy homemade crunch bars. It’s a fun and rewarding project that yields delicious results. Happy baking!
FAQ
How long do homemade crunch bars last?
Homemade crunch bars can last up to 2 weeks in an airtight container at room temperature. For longer storage, keep them in the fridge for up to 1 month.
Can I use milk chocolate instead of dark chocolate for this recipe?
Yes, you can use milk, dark, or white chocolate. The flavor and sweetness will change based on the chocolate type.
Are these crunch bars gluten-free?
The basic recipe can be gluten-free with gluten-free rice cereal. Always check ingredient labels for gluten-free certification if needed.
Can I freeze homemade crunch bars?
Yes, you can freeze them. Wrap each bar in plastic wrap or parchment paper. Then, store in an airtight container or freezer bag for up to 3 months. Thaw at room temperature before eating.
How can I make these crunch bars healthier?
Use dark chocolate with high cocoa content and less sugar. Try natural sweeteners. Add nuts or seeds for nutrition. Use puffed quinoa for more protein.
Can I add nuts or other mix-ins to the crunch bars?
Definitely! Add chopped nuts, dried fruits, or mini marshmallows. Mix them into the cereal before adding chocolate.
Why did my chocolate seize when I was melting it?
Chocolate seizes from water or overheating. Use dry utensils and melt slowly. Use a double boiler or microwave in short bursts, stirring often.
How can I make my crunch bars extra crispy?
Toast the rice cereal in the oven for a few minutes before mixing with chocolate. This removes moisture for crunchier bars.
easy homemade crunch bars recipe
Ingredients
Equipment
Method
- Line the baking pan with parchment paper.
- Melt chocolate and butter in the microwave, stirring every 30 seconds.
- Mix in cereal and salt until evenly coated.
- Pour mixture into the pan and spread evenly.
- Refrigerate for 1 hour until set.
- Cut into bars and enjoy your homemade candy bars!

