
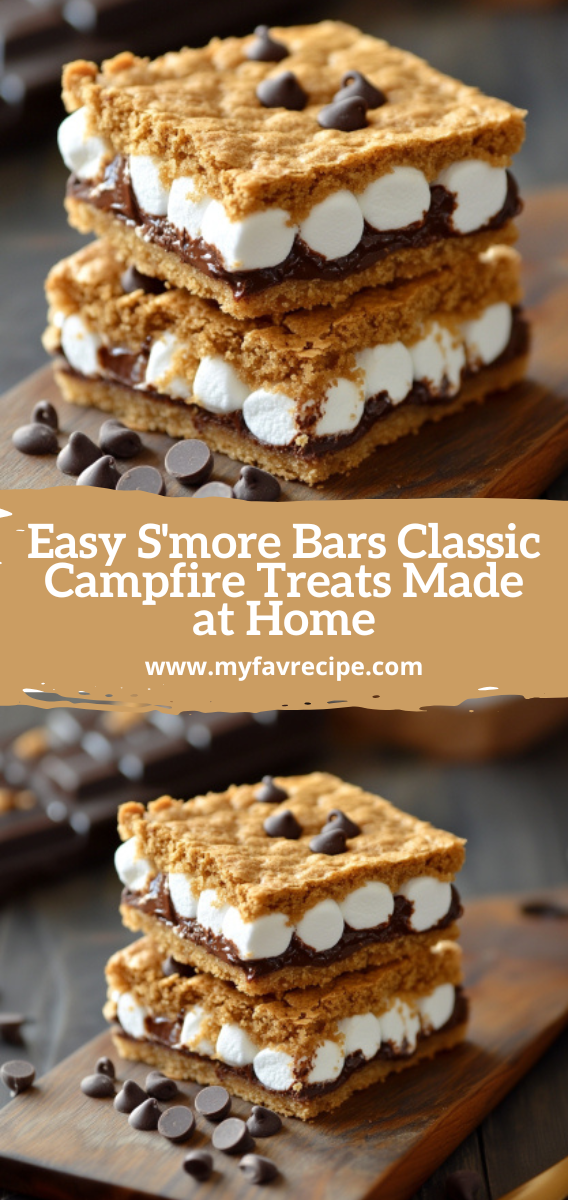
Easy S’more Bars Classic Campfire Treats Made at Home
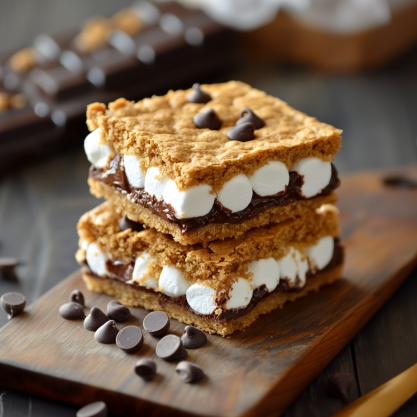
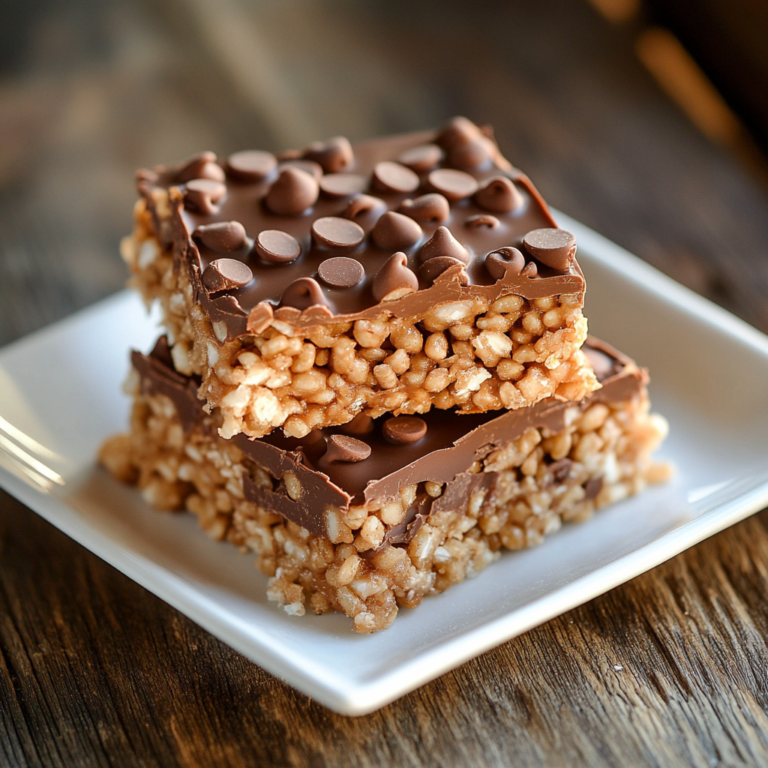
Craving the taste of summer campfires? S’more bars bring that classic outdoor experience right to your kitchen. These gooey treats combine the beloved flavors of graham crackers, chocolate, and marshmallows in an easy-to-make dessert.
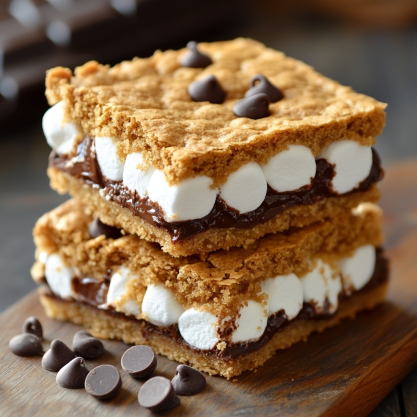
No need for a campfire – you can enjoy these s’mores-inspired bars any time of year. They’re perfect for parties, movie nights, or just satisfying your sweet tooth. With simple ingredients and quick prep, you’ll have a delicious batch of smore bars ready in no time.
Get ready to indulge in the nostalgic taste of campfire treats without leaving your home. Let’s dive into the world of s’mores desserts and create some mouthwatering memories!
The History and Nostalgia of Classic S’mores
S’mores are a summer favorite, loved for generations. They bring back memories of nights under the stars.
Origins of the Beloved Campfire Treat
The first s’more recipe was in a 1927 Girl Scout handbook. It was called “Some Mores.” It quickly became a hit at summer camps in America. The name later shortened to “s’mores,” showing how much people loved them.
From Campfire to Kitchen
As s’mores became more popular, people started making them indoors. They created oven-baked versions and no-bake bars. This made it possible to enjoy s’mores all year, not just at camps.
Why S’mores Remain an American Favorite
S’mores are loved for many reasons:
- They use simple ingredients like graham crackers, chocolate, and marshmallows.
- They can be customized to fit your taste.
- They bring back memories of childhood camping trips.
S’mores are loved for their simplicity and the happiness they bring. They are enjoyed both outdoors and indoors, making them a cherished part of American food culture.
Essential Ingredients for Perfect Smore Bars
Creating the perfect s’mores dessert starts with selecting top-notch ingredients. Let’s explore the key components that make these treats irresistible.
Selecting Graham Crackers
Graham crackers form the base of s’mores bars. Choose crackers with a slightly sweet flavor and sturdy texture. Honey-flavored varieties add an extra layer of sweetness to your dessert.
Choosing Chocolate Bars
The chocolate is crucial for that gooey, melty goodness. Milk chocolate bars are classic, but dark chocolate offers a rich twist. Break the bars into small pieces for even melting.
Marshmallow Magic
Regular marshmallows work well, but mini marshmallows spread more evenly. For a gourmet touch, try flavored or homemade marshmallows. Vegan options are available for dietary restrictions.
Mix-ins and Variations
Customize your s’mores bars with these tasty additions:
- Crushed nuts for crunch
- Peanut butter chips for extra flavor
- Fruit slices for a fresh twist
Experiment with different combinations to create your perfect s’mores dessert. The key is balancing flavors while maintaining that classic marshmallow-chocolate-graham cracker harmony.
Step-by-Step Preparation Guide
Making smore bars at home is a fun twist on easy camping recipes. These gooey treats bring the joy of campfire s’mores to your kitchen. Let’s dive into making these delectable squares!
- Preheat your oven to 350°F (175°C).
- Line a 9×13-inch baking pan with parchment paper.
- Crush graham crackers into fine crumbs.
- Mix crumbs with melted butter and press into the pan.
- Bake the crust for 10 minutes until golden.
- Spread chocolate chips evenly over the warm crust.
- Top with mini marshmallows.
- Return to oven for 10-15 minutes until marshmallows are puffy and golden.
- Cool completely before cutting into bars.
For extra gooey smore bars, try broiling the top for a minute. Watch closely to avoid burning. The result? A perfect blend of crispy, melty, and chewy textures that rival any campfire creation.
“These homemade smore bars taste just like summer nights around the fire, but without the mosquitos!”
Experiment with different chocolates or add-ins like nuts or dried fruit to create your own signature smore bars. This versatile recipe adapts well to various tastes and preferences, making it a hit for both kids and adults alike.
Recipe card
Want to make delicious smore bars at home? This easy recipe combines graham crackers, chocolate bars, and marshmallows. It’s a gooey, indulgent treat. Let’s get into what you need and how to make these irresistible bars.
Equipment
- 9×13 inch baking pan
- Parchment paper
- Large mixing bowl
- Spatula
- Measuring cups and spoons
Ingredients
- 2 cups graham cracker crumbs
- 1/2 cup melted butter
- 1/4 cup sugar
- 3 cups mini marshmallows
- 2 cups chocolate chips or chopped chocolate bars
Instructions
- Preheat your oven to 350°F (175°C).
- Line the baking pan with parchment paper.
- Mix graham cracker crumbs, melted butter, and sugar in a bowl.
- Press the mixture into the pan to form a crust.
- Sprinkle chocolate over the crust.
- Top with marshmallows.
- Bake for 10-12 minutes until marshmallows are golden.
- Let cool before cutting into bars.
These smore bars are perfect for satisfying your sweet tooth without a campfire. The mix of crispy graham crackers, melty chocolate, and gooey marshmallows is irresistible. Enjoy your homemade smore bars with friends and family!
Tips for Achieving the Perfect Gooey Texture
Making gooey treats like s’mores at home is fun. The secret to perfect toasted marshmallow sandwiches is a few simple tricks. Let’s dive into how to get that amazing texture that makes s’mores so loved.
Temperature Control Techniques
The secret to gooey s’mores bars is careful temperature management. Start by preheating your oven to 350°F. This heat melts the marshmallows slowly without burning them.
For even more gooeyness, try broiling the top for 1-2 minutes at the end of baking.
Layering Methods for Best Results
Proper layering is key for the perfect s’mores dessert. Start with a graham cracker base, then add chocolate. Finally, add marshmallows last to keep them from sinking.
This order ensures each bite has the right mix of flavors and textures.
Achieving the Perfect Golden Brown Top
To get that classic campfire look, use your oven’s broiler. Watch closely as the marshmallows turn golden brown. This step takes only a minute or two, so don’t walk away!
The result is a beautifully toasted top that completes your homemade s’mores bars.
“The perfect s’more is all about balance – gooey marshmallow, melted chocolate, and crisp graham cracker coming together in harmony.”
By following these tips, you’ll make irresistible gooey treats that rival any campfire s’mores. Enjoy your homemade toasted marshmallow sandwiches with friends and family for a taste of nostalgia anytime.
Storage and Make-Ahead Options
Smore bars are great for summer snacks. They can be enjoyed long after making them. Proper storage keeps them fresh and tasty for your next adventure or cozy night.
Wrap each smore bar in plastic wrap or wax paper. This keeps them from sticking together and keeps their texture. Store them in an airtight container at room temperature for up to 5 days.
For longer storage, freeze your smore bars. They’ll last up to 3 months. Let them thaw at room temperature for about an hour when you’re ready to eat.
Planning a camping trip? Prepare your smore bars ahead of time. Make them a day or two before your trip. Store them in a cooler. They’re ready to enjoy at your campsite, no campfire needed!
- Room temperature storage: Up to 5 days
- Freezer storage: Up to 3 months
- Camping trip prep: 1-2 days in advance
With these tips, you can always have smore bars ready for any occasion. They’re perfect for busy schedules or last-minute plans.
Conclusion
S’more bars bring the magic of campfire treats right into your kitchen. These gooey, chocolatey delights capture the essence of traditional s’mores without the need for a bonfire. By following our easy recipe, you can whip up a batch of these irresistible s’mores dessert bars in no time.
The beauty of smore bars lies in their versatility. Feel free to mix things up by trying different types of chocolate or adding your favorite nuts and fruits. Whether you’re planning a cozy night in or need a crowd-pleasing dessert for a party, these bars are sure to be a hit.
So why wait for your next camping trip to enjoy the classic flavors of s’mores? With this simple recipe, you can savor the taste of summer all year round. Give these homemade s’more bars a try and relive those sweet campfire memories anytime you want!
FAQ
Can I make S’more Bars without an oven?
Yes, you can make no-bake S’more Bars using a microwave or stovetop. But, they might not taste exactly like the oven-baked ones.
How long do S’more Bars stay fresh?
S’more Bars stay fresh for up to 5 days in an airtight container at room temperature. You can keep them for up to 2 weeks in the fridge.
Can I use different types of chocolate in S’more Bars?
Absolutely! Try using dark, white, or flavored chocolate bars for a twist on the classic S’more Bars.
Are S’more Bars suitable for freezing?
Yes, they freeze well. Wrap them in plastic wrap and store in a freezer-safe container for up to 3 months. Thaw at room temperature before eating.
Can I make S’more Bars gluten-free?
Certainly! Use gluten-free graham crackers or cookies as the base. Make sure all ingredients, including marshmallows and chocolate, are gluten-free.
What’s the best way to cut S’more Bars without making a mess?
Cool the bars completely. Then, use a sharp knife dipped in hot water and wiped dry. This method helps you get clean slices through the marshmallow layer.
Can I add other ingredients to S’more Bars?
Definitely! Try adding nuts, dried fruit, or a layer of peanut butter. Get creative and make your own unique S’more Bar flavors.
Are S’more Bars a good option for summer parties?
S’more Bars are perfect for summer parties! They’re easy to make in large batches and can be prepared ahead of time. They bring the taste of summer campfire treats without needing a campfire.
S'more bars bring that classic
Ingredients
Equipment
Method
- Preheat your oven to 350°F (175°C).
- Line the baking pan with parchment paper.
- Mix graham cracker crumbs, melted butter, and sugar in a bowl.
- Press the mixture into the pan to form a crust.
- Sprinkle chocolate over the crust.
- Top with marshmallows.
- Bake for 10-12 minutes until marshmallows are golden.
- Let cool before cutting into bars.
